

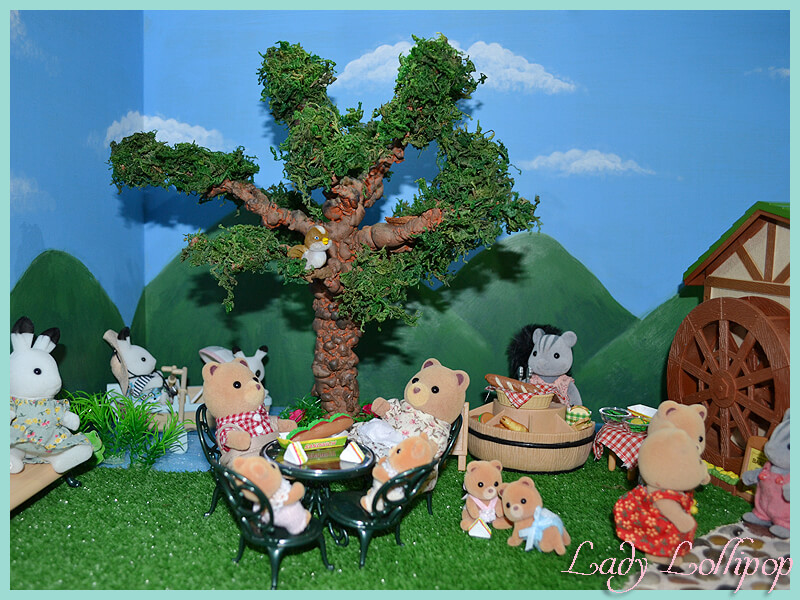
After setting up my original Watermill Bakery diorama, I realised that the Sylvanian Families relaxing here were in need of some shade. The only problem was that I could not find any faux foliage locally and I tried to stay as low budget as possible. So I decided to make my own.
I started off by doing some research on the internet and found that most modellers use a wire frame to start their trees off with, followd by some form of modelling media.
To make the tree, I bent beading wire in the rough shape that I wanted my tree, with the roots at a right angle to my trunk and the branches raching to the sky. I wrapped each new segment of wire around the previous ones and soon I had a wire frame tree with roots keeping it upright by itself and different branches branching off in all directions.
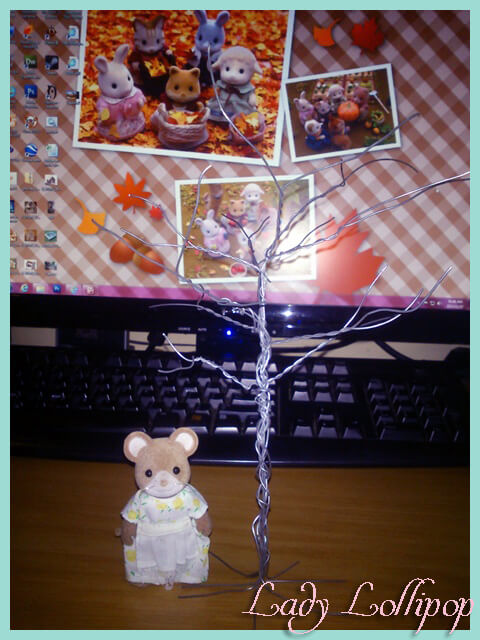
At this stage, the tree was standing on its own and it was pretty upright for a wire frame... :-)
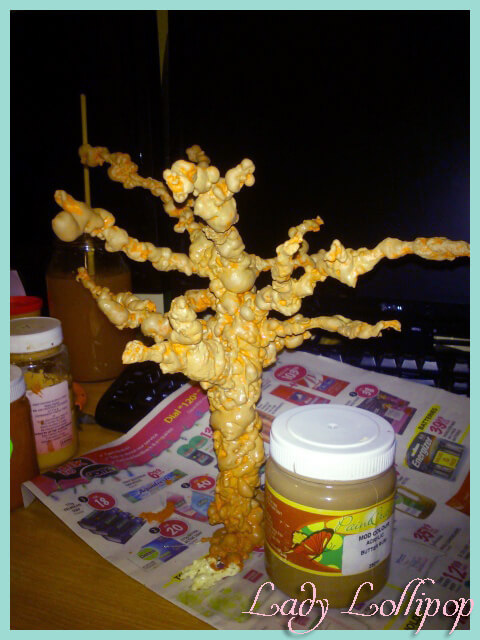
I searched about the house and had some expanding PU crack sealant foam left over from my beach project, so I went a bit crazy with it to create the bark of the tree. I wanted a really creepy/interesting tree for this specific display shelf, so I carved and molded some rally knotty and gnarled bark, bending the branches down a bit to droop more , but still allowing enough space for a critter to stand under.
I used some acrylic paints to paint a basecoat and a few shading layers onto the tree.
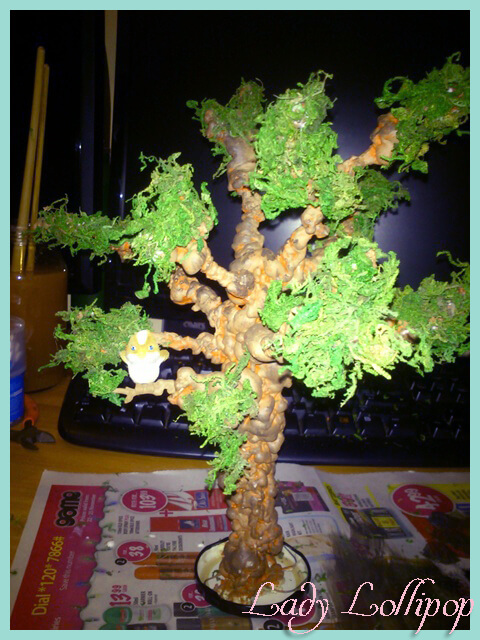
The first attempt ended up looking very dark and dreary, so I redid the paint job to lighten it up a bit. (I have to apologise for the poor lighting of my photos, it was done in near darkness with my cellphone camera! This was before the days of having access to a good camera of my own...)
After shading the tree back down again, I added some moss to the branches for foliage. I get the moss from our local craft shop a while ago, and it has just been waiting in my craft box to be used for some project or the other... In future, however, I will most likely look for a more solid medium, as the moss was really tricky to work with and kept falling out when shaken!!! Even months/years after use, the moss kept its colour, although it still falls and stains critters where they come in contact with it!
It took a lot of patience and a LOT of wood glue to get everything to stick in place and look remotely like a tree, even a somewhat macabre and dreary one in the end.
I used an old Mayonaise bottle cap for a base for the tree. The wires at the bottom were bent to fit into the cap and they managed to hold the tree in position quite nicely! After the tree was set into the cap, and repositioned, bent and pulled into shape, I added wood glue to the base to secure the tree. Some shrubbery was added and I finished it off with some pink paper flowers. Most of my Sylvanian Families figures fit under the tree branches quite nicely, but bunnies might have to duck a bit.
When the foliage and flowers under the tree were dry, I stuck some pebbles around the base plate to make a flower bed border.
I also had a little flocked bird handy to add to my tree, and as luck would have it, its branch was an excellent match to the trunk's colour! The flowers at the end of its branch were removed, some foliage stuck in their place and the birdie-branch was stuck to the tree. Digging through craft shops later delivered a little nest with eggs which fit perfectly in this tree's branches.
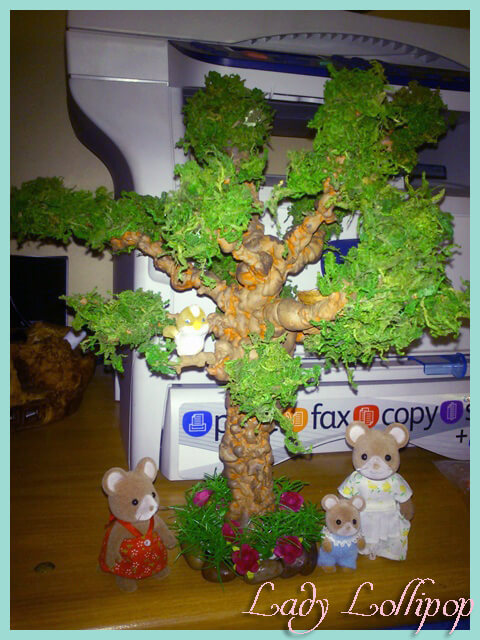
After allowing the tree to dry, this is what the finished product looks like. I have since added some more greenery to the base plate, and the glue underneath is no longer showing through as much. I have also been contemplating adding some form of faux soil, but this is still in the planning / consideration phase. In hindsight, it may have been a good idea to add some coffee grounds or tea leaves as soil before adding the greenery. But that is how we learn!
The next tree will most likely be made from modelling clay to produce a smoother bark and I will be looking out for other options as foliage as well.
